Founded in 2013, we have integrated digital manufacturing in over 10,000 businesses. Today we are a team of 80+ 3D printing enthusiasts, geeks and entrepreneurs on a mission to make these technologies accessible to all.
Zuverlässiger Integrator
In 2018, 3D Print Awards named us the best digital manufacturing integrator. We offer technology and operational consulting to capture growth and achieve excellence in strategy, manufacturing and distribution.
Kompetenter Kundenservice
Deep expertise in 3D printing, 3D scanning, 3D modelling, plastic casting, laser cutting and CNC milling. It comes from delivering 5,000+ projects at our digital manufacturing bureau. We know what we talk about.
Schnelle Reaktionszeit
93% of surveyed customers are satisfied with our customer service. Have a question, concern or feedback for us? Our support team is a quick chat or email away — 5 days a week, Monday to Friday from 8 am to 4 pm PST.


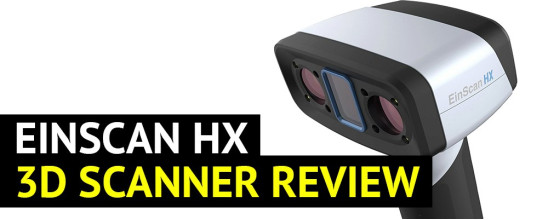
![Einscan HX 3D-Scanner [1 x Aesub-Spray gratis]](https://top3dshop.com/image/cache/catalog/products/3d_scanners/shining_3d/einscan_hx/einscan_hx_image6-160x160.jpg "Einscan HX 3D-Scanner [1 x Aesub-Spray gratis] , photo")

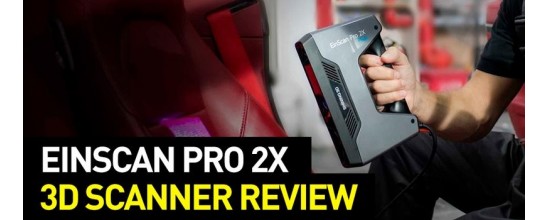
![Einscan Pro 2X 2020 3D-Scanner [1 x Aesub Spray gratis]](https://top3dshop.com/image/cache/catalog/products/3d_scanners/shining_3d/einscan_pro_2x/einscan_pro_2x_4734d382-160x160.jpg "Einscan Pro 2X 2020 3D-Scanner [1 x Aesub Spray gratis] , photo")
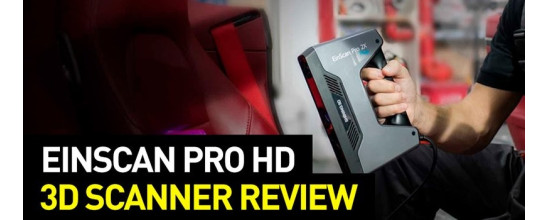
![Einscan Pro HD 3D-Scanner [1 x Aesub-Spray gratis]](https://top3dshop.com/image/cache/catalog/products/3d_scanners/shining_3d/einscan_pro_hd/shining_einscan_pro_hd_3d_scanner_3-160x160.jpg "Einscan Pro HD 3D-Scanner [1 x Aesub-Spray gratis], photo")


